IoT and Telemetry
This flow covers developing an application that produces telemetry, publishing metrics to the platform, and visualizing them.
Involves: PyToloMEO, Fleet Manager
How the data flows
A NATS message broker runs locally on every provisioned device.
Any application that can connect to it can publish telemetry by posting a
SenML JSON array to the events.data subject.
An agent running on the device forwards that traffic to the ToloMEO cloud, where
Fleet Manager stores and displays it.
flowchart LR
    subgraph device["On the device"]
        A["Your application"] -->|"events.data\n(SenML JSON)"| N["NATS\n(local)"]
        N --> AG["ToloMEO agent"]
    end
    subgraph cloud["ToloMEO cloud"]
        FM["Fleet Manager"]
    end
    AG -->|"TLS"| FM
Each message is a JSON array of records. A record carries the device identity in the base
name field (bn), the metric name (n), its unit (u), the numeric value (v), and a
Unix timestamp (t):
[
  {
    "bn": "urn:cpt:device:sn:SN123456:",
    "n": "temperature",
    "u": "deg",
    "v": 23.5,
    "t": 1700000000.0
  }
]
The device serial number used in bn is read from the DEVICE_SERIAL_NUMBER environment
variable set during provisioning. Any language with a NATS client library can produce this
message and have it appear in Fleet Manager.
Using py-tolomeo
PyToloMEO (repository) is the Python library built specifically for writing telemetry services on ToloMEO devices. It takes care of metric registration, SenML serialization, polling loops, heartbeating, and command routing so that the only code you need to write is the part that reads from your sensor. The steps below show how to build a service with it.
Step 1 - Define your metrics
Each metric you intend to publish must be declared as a Metric object. A metric has a
name, a unit, and a type. MetricType.TEMPORAL is for time-series values;
MetricType.INCREMENTAL is for monotonically increasing counters.
from tolomeo.metrics import Metric, MetricDataType, MetricType

temperature = Metric(
    name="temperature",
    unit="deg",
    type=MetricType.TEMPORAL,
    data_type=MetricDataType.NUMBER,
)
The name is what Fleet Manager uses as the series identifier. The convention used by the
built-in services is <group>:<field> (for example cpu:total, engine:rpm), but any
string is accepted.
Step 2 - Write a plugin
A plugin is the hardware abstraction layer. It connects to a sensor, reads data, and places
raw readings into an asyncio queue for the service to pick up. Extend SensorPlugin,
declare your metrics in the inner Meta class, and push readings to self._data_queue:
import time
from tolomeo.plugins import SensorPlugin
from tolomeo.metrics import Metric, MetricDataType, MetricType


class TemperaturePlugin(SensorPlugin):
    class Meta:
        out_metrics = [
            Metric("temperature", "deg", MetricType.TEMPORAL, MetricDataType.NUMBER),
        ]

    async def connect(self) -> bool:
        self.id = "temperature_monitor"
        return True

    async def disconnect(self) -> bool:
        return True

    async def after_setup(self) -> None:
        await self.task_manager.add_task("sensor_reading", self.sensor_reading)

    async def sensor_reading(self) -> None:
        while True:
            value = await read_temperature_from_hardware()
            self._data_queue.put_nowait({
                "timestamp": round(time.time()),
                f"{self.id}:temperature": value,
            })
The dict key must follow the "<plugin_id>:<metric_name>" convention so that the framework
can match each reading to the declared metric.
Step 3 - Write a service
A service manages the plugin lifecycle, drives the polling loop, and owns the NATS
communication. Extend SingleSensorService and point it at your plugin class:
from tolomeo.services import SingleSensorService
from .plugin import TemperaturePlugin


class TemperatureService(SingleSensorService):
    class Meta:
        plugin_class = TemperaturePlugin
        poll_time_ms = 30_000
poll_time_ms controls how often the service drains the plugin queue and publishes to
events.data.
To start the service from a script:
import asyncio
from .service import TemperatureService


async def main() -> None:
    service = TemperatureService("temp_monitor")
    await service.run()


def run_main() -> None:
    asyncio.run(main())
Step 4 - Commands
Communication is bidirectional. The cloud can send commands to a running service on the
device by publishing a SenML message to commands.<service_name>.req. The n field
carries the command name and vs carries its JSON payload:
In py-tolomeo, each command is a class that extends PluginCmd and implements an
execute method. The context argument gives access to the parsed payload and the plugin
instance that received the command:
from tolomeo.commands.plugin import PluginCmd, PluginCmdContext


class TempUnitCmd(PluginCmd):
    @classmethod
    async def execute(cls, context: PluginCmdContext) -> dict:
        unit = context.payload.get("unit")
        TempSensor().set_unit(unit)
        return {"message": f"Changed temperature unit to {unit}"}
Commands are registered on the plugin by listing them in Meta.commands. py-tolomeo
matches incoming messages to the right class by name:
class TemperaturePlugin(SensorPlugin):
    class Meta:
        out_metrics = [
            Metric("temperature", "deg", MetricType.TEMPORAL, MetricDataType.NUMBER),
        ]
        commands = [TempUnitCmd]
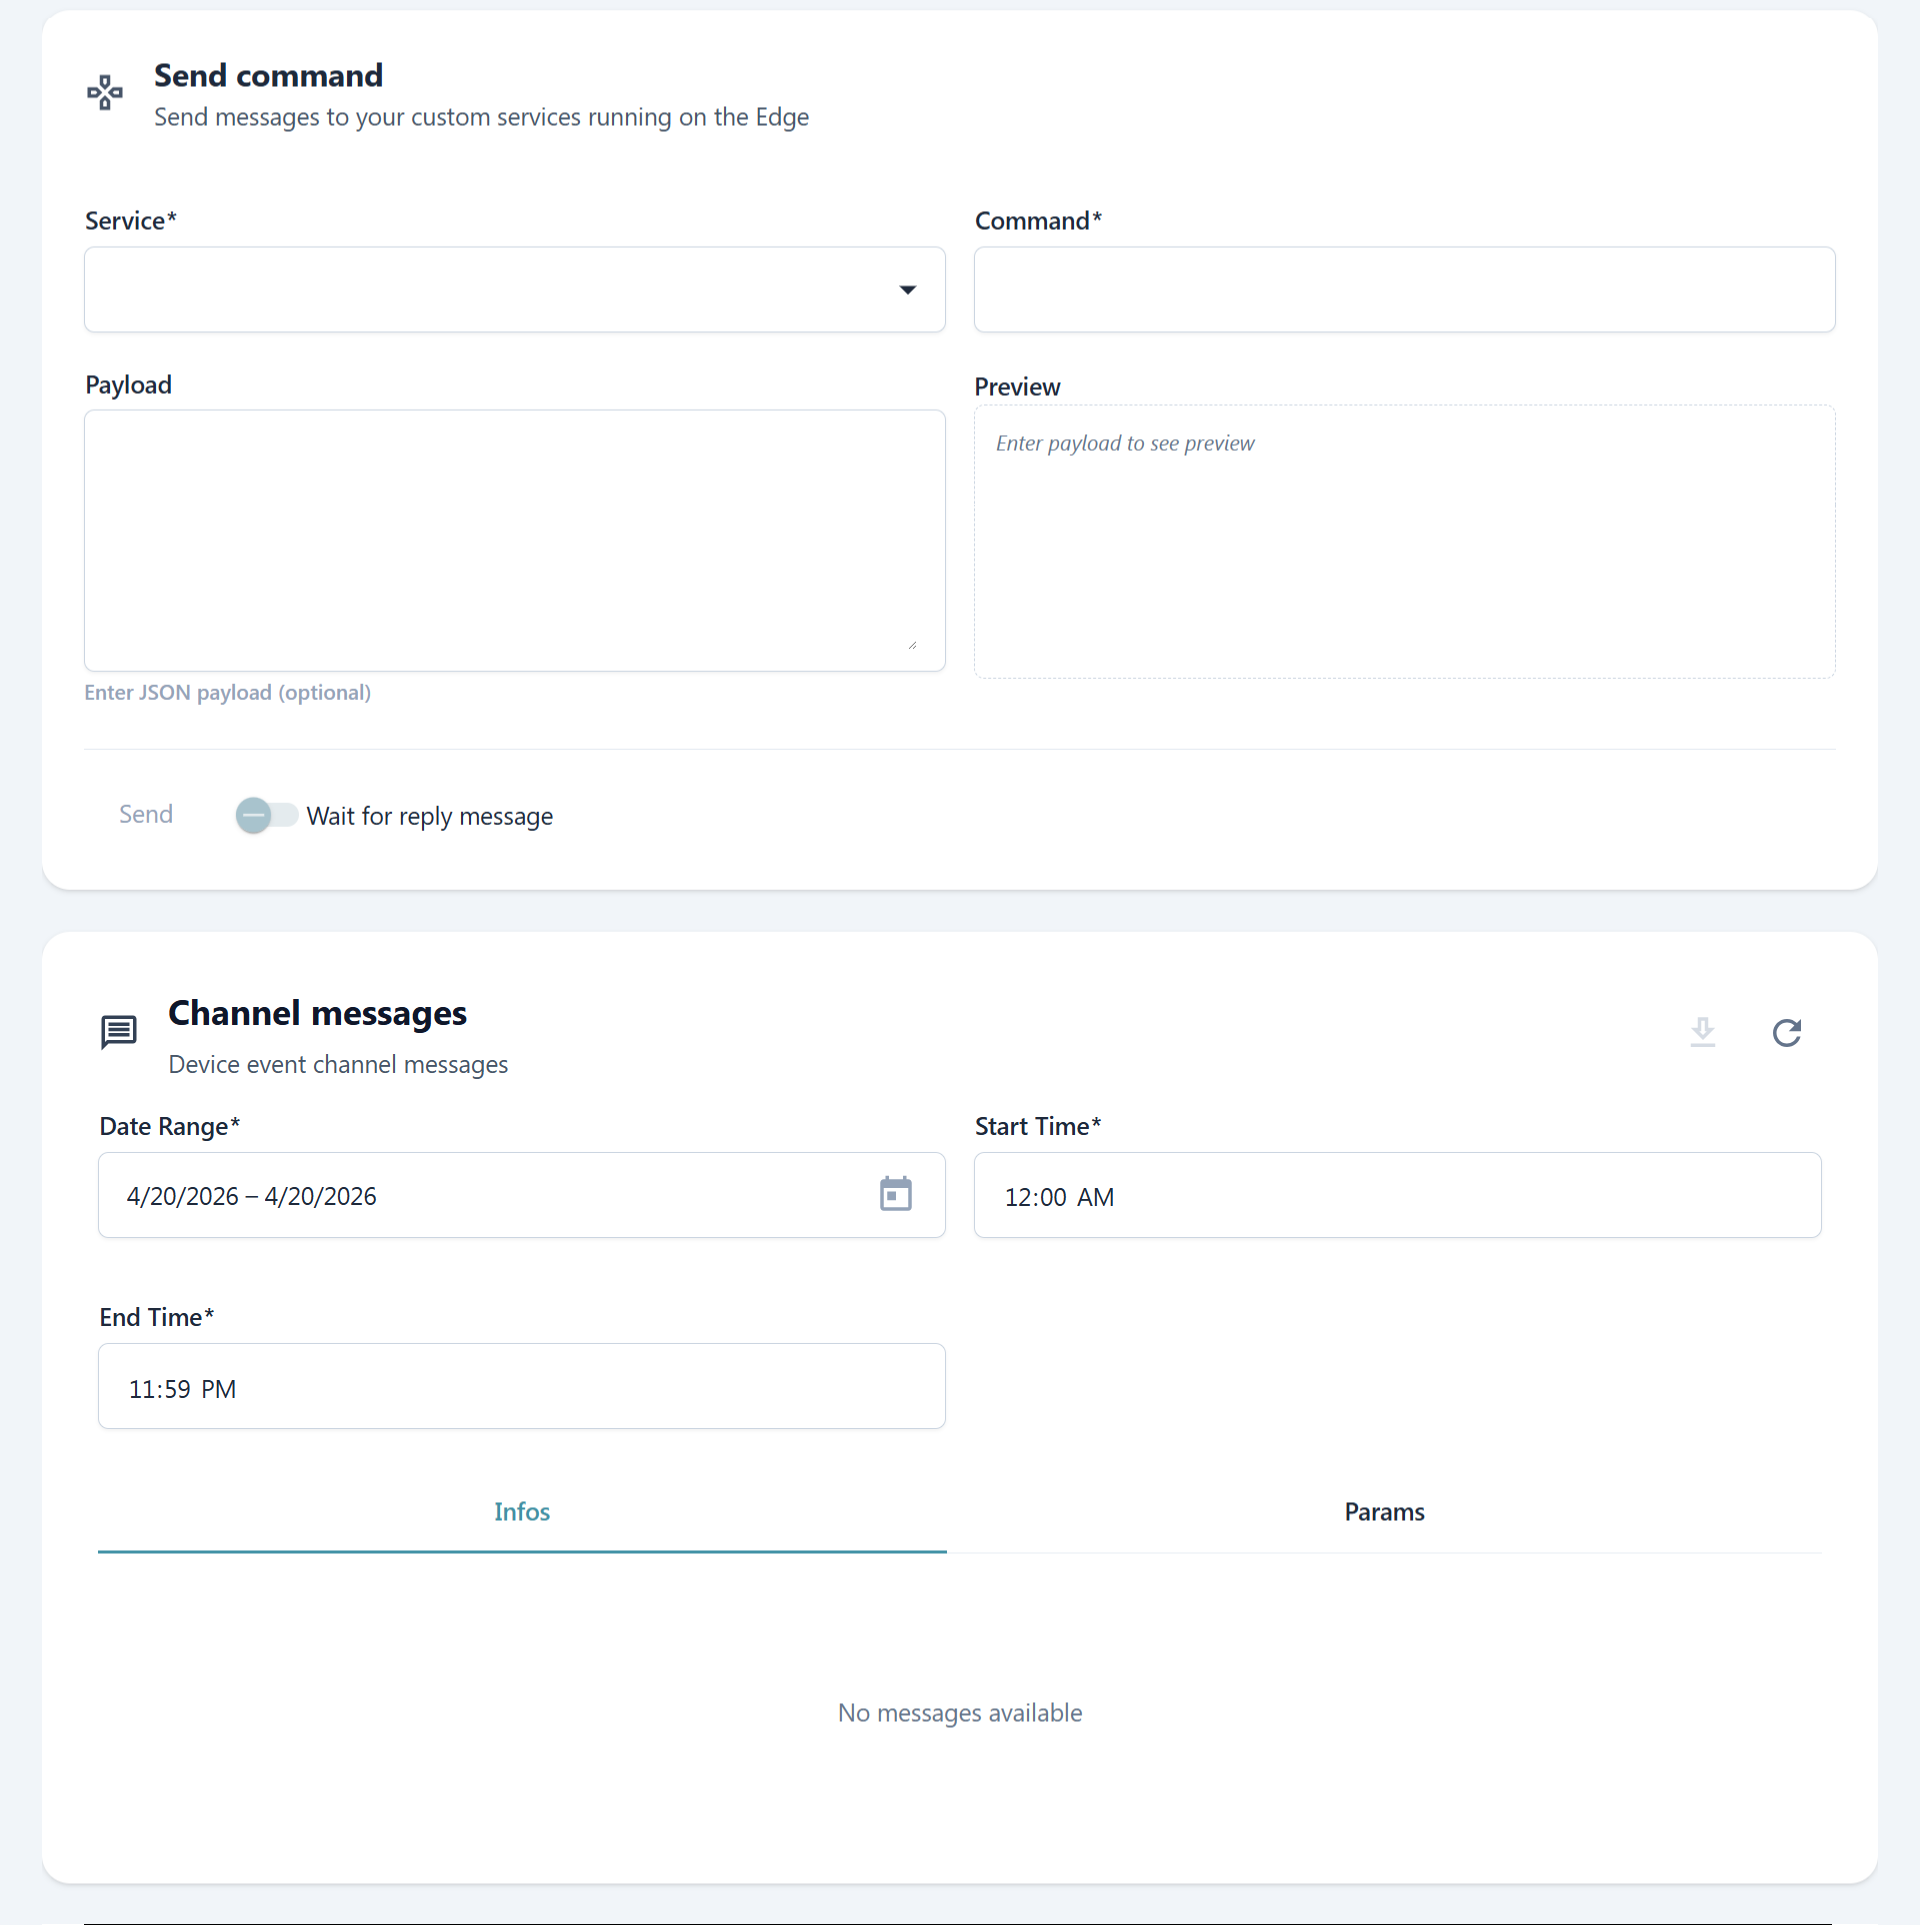
Commands can be sent from the Control panel in Fleet Manager and their responses are displayed there.
Step 5 - Add to the image
Once the service is written, add it to the device image following the BSP and Application Development flow. That flow covers everything from writing the recipe to including the application in the final image.
The tlm-services
project is the canonical real-world reference for how a py-tolomeo service is structured
and packaged. It ships two production services and is already
included in meta-tolomeo-app, so its recipe, systemd units, and overlayfs configuration
for writable storage are all available as a starting point.
Step 6 - Visualizing metrics in Fleet Manager
Once the device is provisioned and the service is running, metrics appear in the device detail view in Fleet Manager. The metrics tab shows a chart per declared metric over the selected time range.

Note
Devices only appear in Fleet Manager after provisioning. See the Device Provisioning flow for the steps required to register a device and enable telemetry reporting.